For several years I’ve been using Earthboxes to grow annual vegetables (beans, cucumbers, tomatoes, squash, etc.). I’ve had fantastic results and I wanted to bring this amazing growing method to two of my raised beds. The concept behind sub-irrigated beds is pretty simple. Water is added to a reservoir in the bottom of a container through a fill tube and a peat-based planting medium is used to wick water up to the plants. An overflow tube is also installed to funnel excess water out of the bed.
Applying this to a raised bed is super easy and I’ll show you what I did to make mine. Here are the steps I wrote down before starting this project:
1. Remove the existing planting medium from the bed 2. Grade the soil inside the bed to create a level base 3. Add a layer of weed fabric to buffer the liner 4. Install a non-toxic barrier (I used a pond liner) to keep water in and create the reservoir 5. Cover your drainage pipe w/ a drainage sock to keep roots out 6. Add perforated drain pipe to create a reservoir 7. Install an overflow tube to let excess water out 8. Add a fill tube to get water into the reservoir 9. Fill the box w/ a peat-based planting medium (we used ProMix BX)
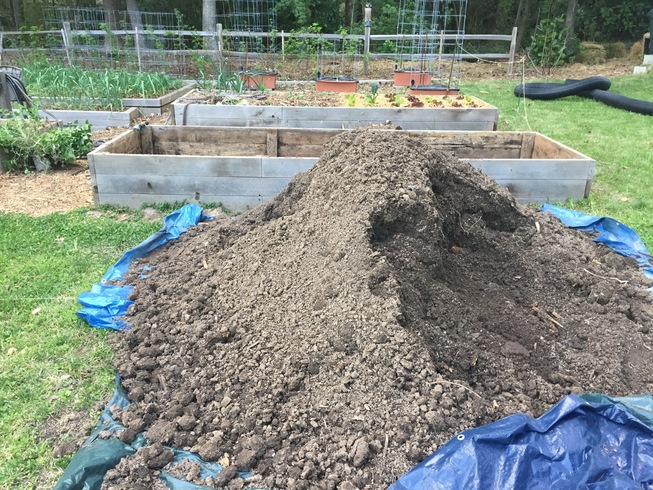
The beds I chose to convert were filled with garden soil so I had to remove and relocate the existing soil:
Once the soil was removed I create a level base inside the box and removed every stone I could see. To create a cushioned buffer between the liner and ground I laid down a thick layer of weed fabric. Next I covered the inside with a heavy duty non-toxic pond liner and stapled it to the top of my beds to keep it in place. It took some wiggling and shouting to get it installed perfectly but eventually I had a nice snug fit.
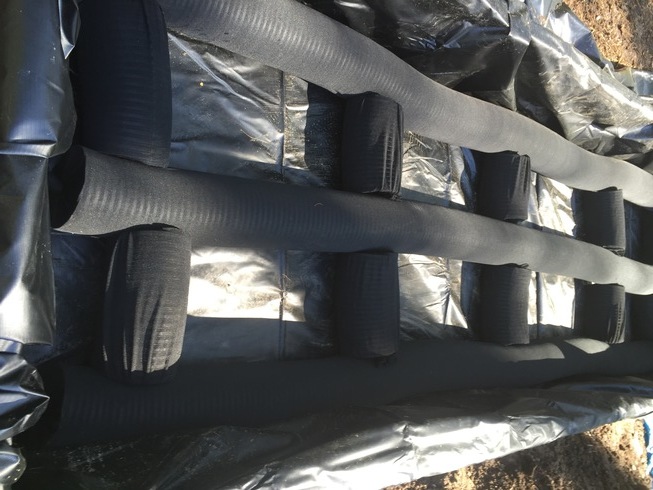
To create my reservoir I cut 6” perforated drain pipe to size, wrapped it with a drainage sock and placed them where I wanted them. Here is the bed with the pond liner and drainage pipe installed:
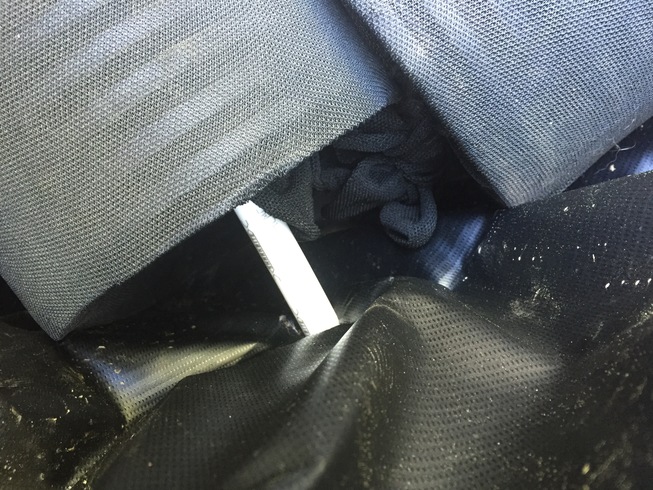
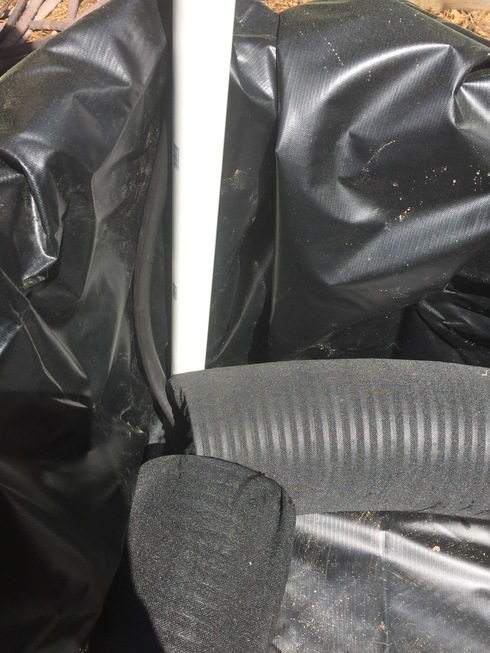
To allow excess water to drain I had to drill a hole on one end of the bed and install a short piece of PVC. The PVC was pushed into the drain pipe and run several inches outside the bed. To allow air to circulate I left a small gap between the top of the drainage pipe and the PVC overflow:
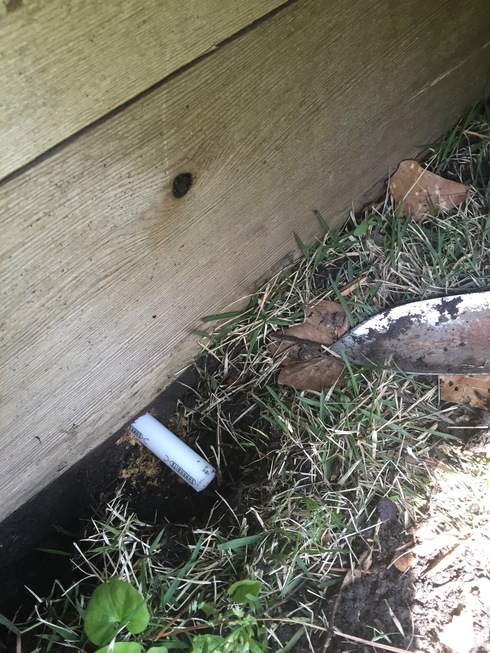
Here’s a picture of the tubing poking out the side:
Next I installed a PVC fill tube to get water into the reservoir:
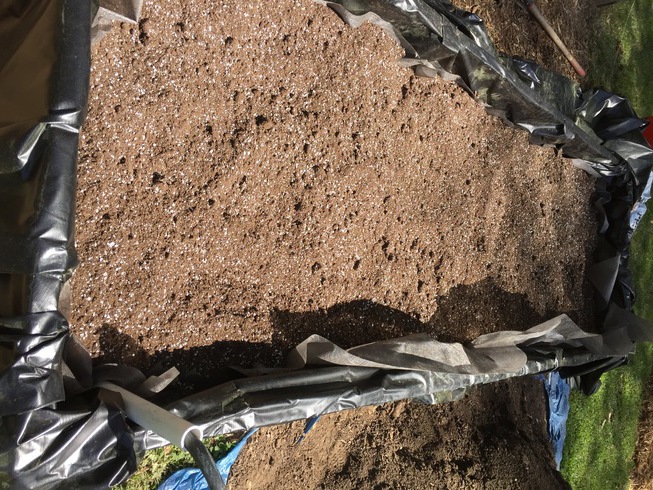
At this point I was ecstatic! I just needed to add a peat-based planting medium, fertilizer and water. To give my beds a healthy start I picked up 5 compressed bails of ProMIX BX and spent half a day opening bags and breaking apart the compressed soil:
I soaked the top of the soil with water to loosen it up and added a batch of lettuce transplants. The lettuce grew like mad and the sauce tomatoes we grew this summer ended up producing 60 pints of sauce! We also got hundreds and hundreds of peppers from the other bed we converted.
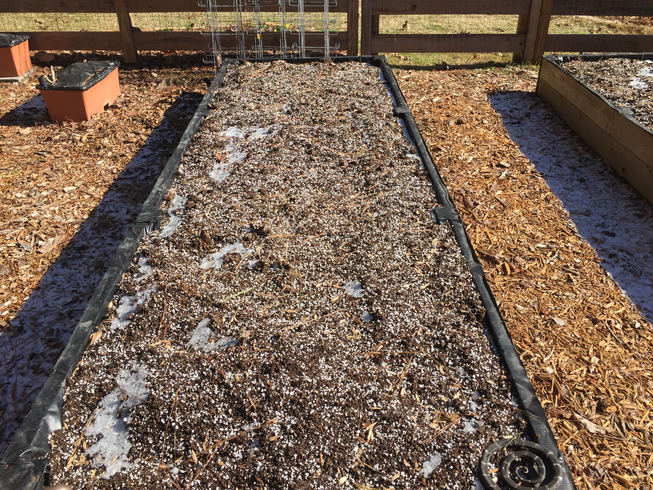
The beds were VERY self sufficient. I filled the beds with water once a week during the hottest days of summer, pruned, added fertilizer as needed and picked a boat load of vegetables. Here is a picture of the bed once we trimmed off the excess liner and filled it with mix:
I’m extremely happy with results and the ease of growing in our new sub-irrigated beds. I’ll make sure to post pictures this summer once our next batch of vegetables go in.
posts_processed posts_to_process proc UPDATE posts_processed posts_to_process proc
Put up a couple of posts about growing vegetables in sub-irrigated beds:
Optimizing Pepper production in a sub-irrigated raised bed Optimizing Tomato production in a sub-irrigated raised bed